 What a coincidence, I have been looking through all my old documents, studio pieces and photographs as this topic spings up. I found that looking back at my old work made me cringe. Fragments of university work here and there made no sense out of context and a few old commission pieces. Pieces that I thought were my best work at the time. However, I didn't delete everything or throw it all away, I kept some of the relevant work even if they were just made to fulfil a module and never came to fruition. 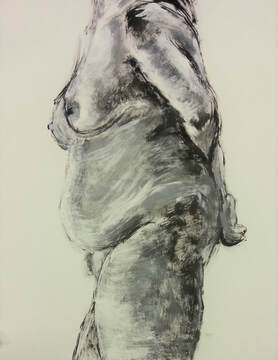 Life drawing at college The positive aspect of looking back through an archive is to see how far you have come. Skills may have progressed over time; you may have picked up some new skills or gone in a different direction taking your practice to new levels. 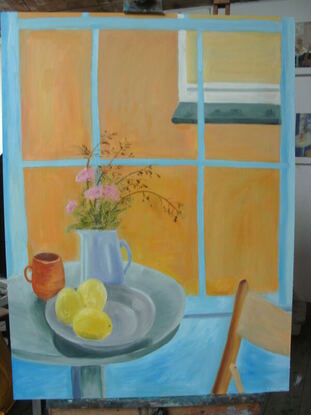 Still life oil painting, Inside Outside course, St Ives School of Painting There is nothing wrong with going on further art courses after college or university, even if you consider yourself a professional. There may be something new to try to benefit or build on your own practice. Its good to try out some new skills to keep your practice fresh. During university, I did two oil painting courses and after graduating completed a year-long mentorship program which helped me to look differently and build a body of work in a new way. Different teachers bring different experiences to the table and I still look back at the work produced then to inform my work now. 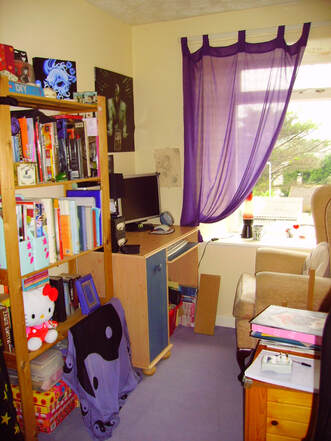 One of my old studio spaces in a spare bedroom
0 Comments
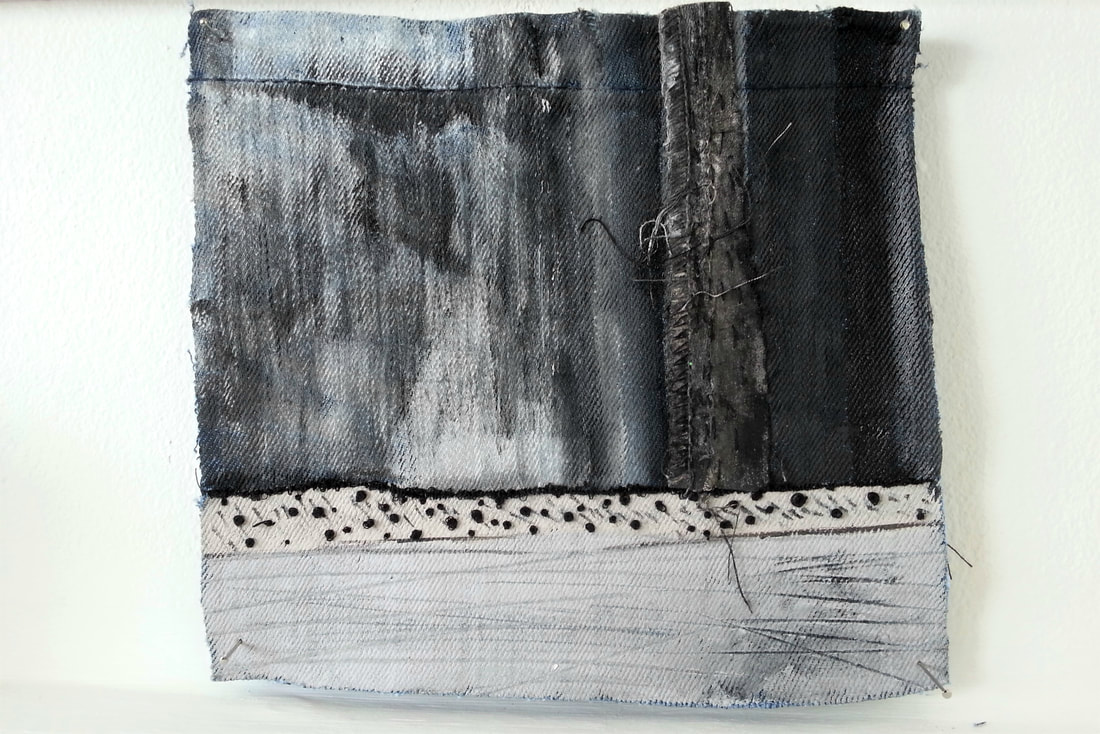
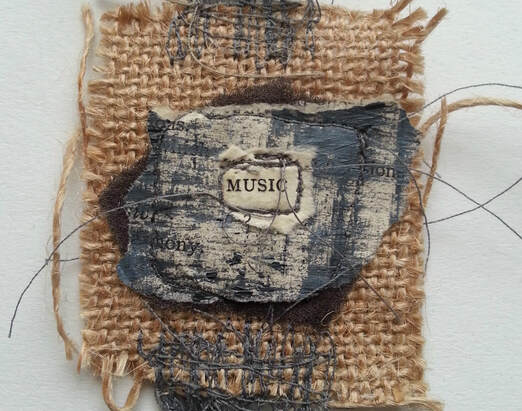
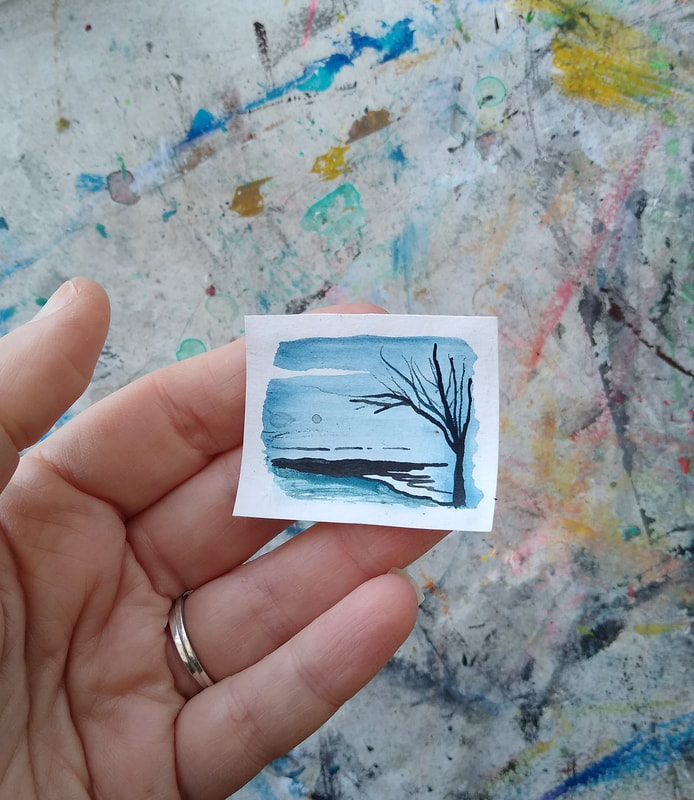
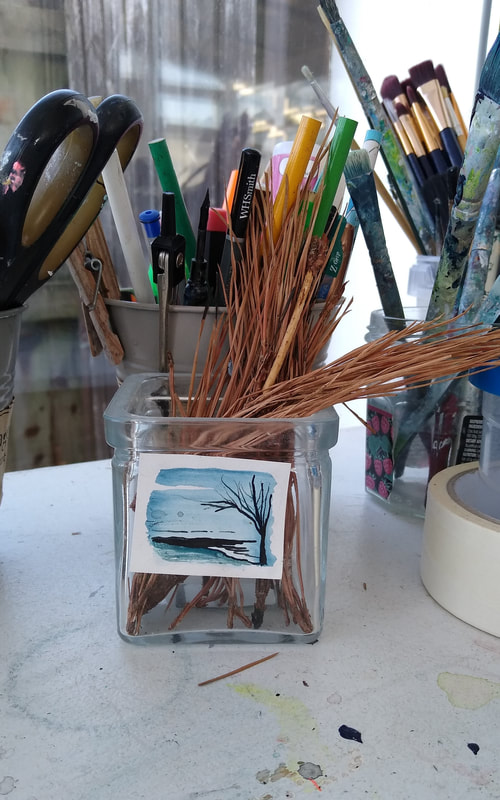
 I'm coming towards the end of this art challenge this week and I have decided to roll two of the topics into one; smallest painting and largest painting. My smallest painting is one of several I made in my Krowji studio. I was experimenting with tiny ink landscapes. I framed them with cut out text from a book to give them a narrative. I wrote about them in my last blog post 'How I Name My Paintings'. This particular piece I never named or framed, it has been hanging around the studio for a few years now.
The benefits of painting this small are:
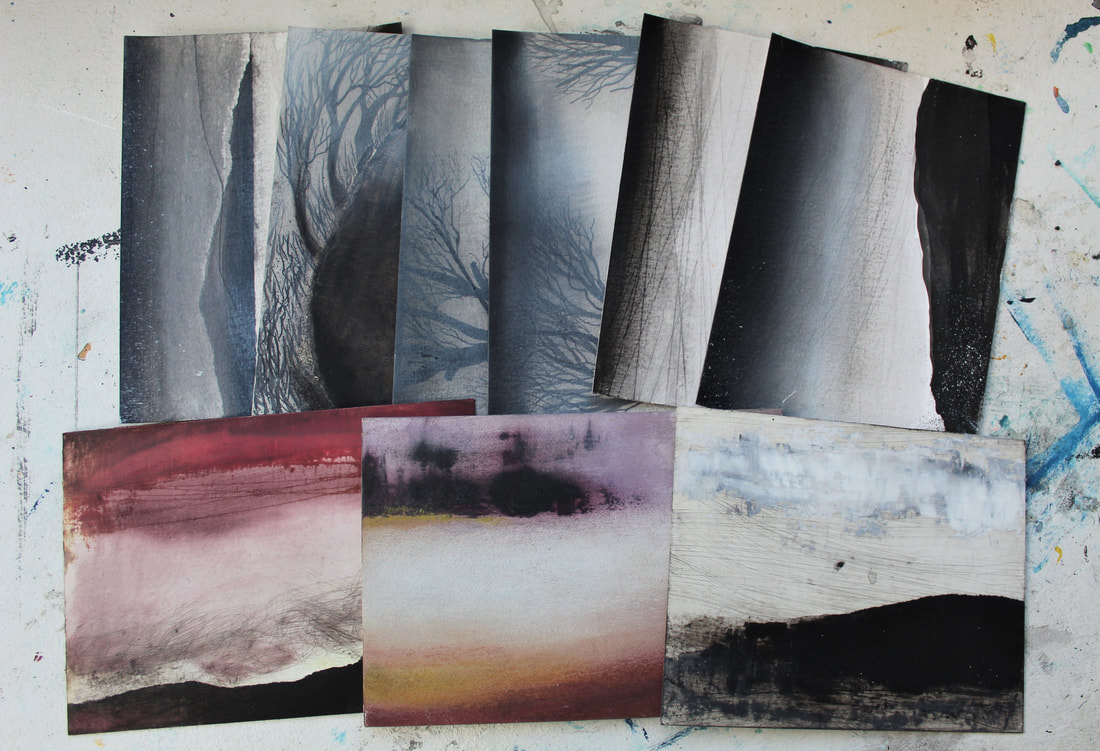
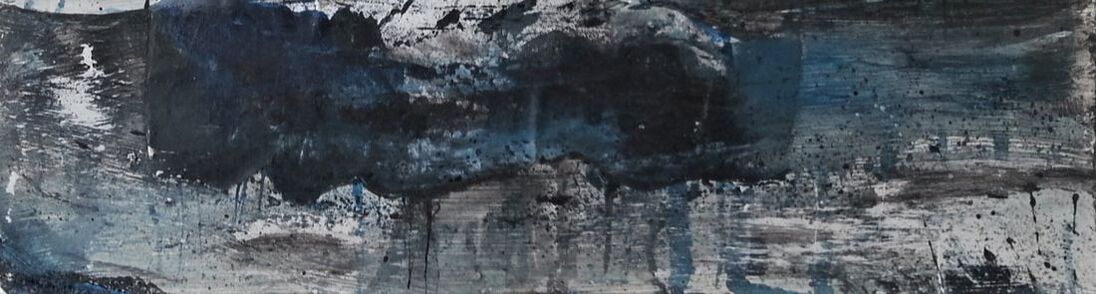
My current largest pieces I made whilst under a mentorship program. All the art from this collection I collectively called Out West, the three largest are almost 60 inches wide. 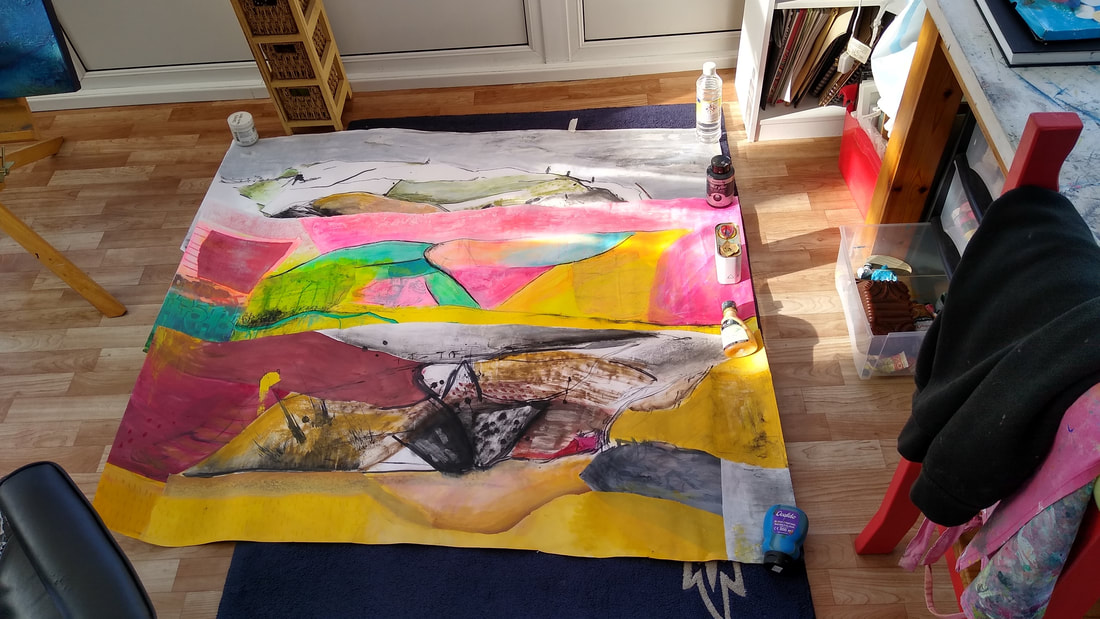 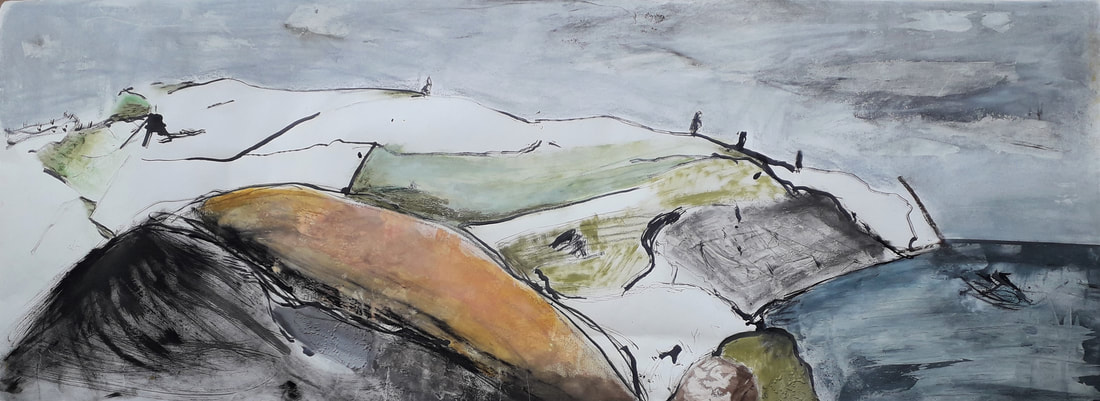 From Pendeen Lighthouse 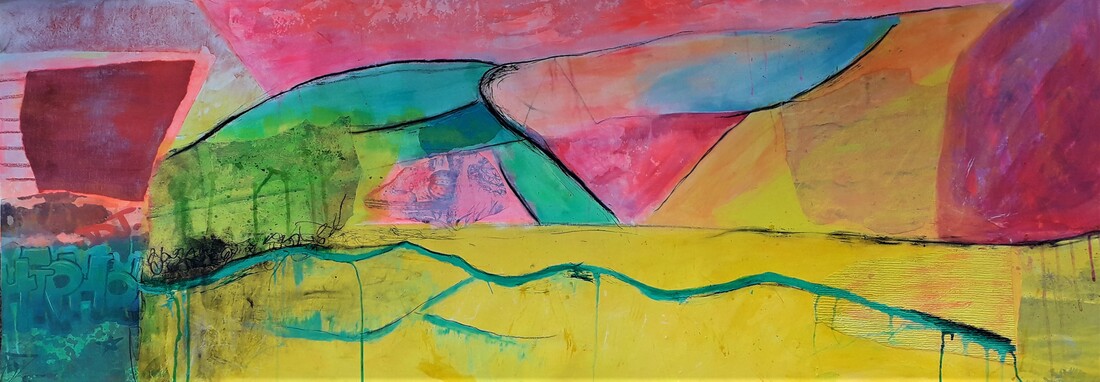 Neon Penwith 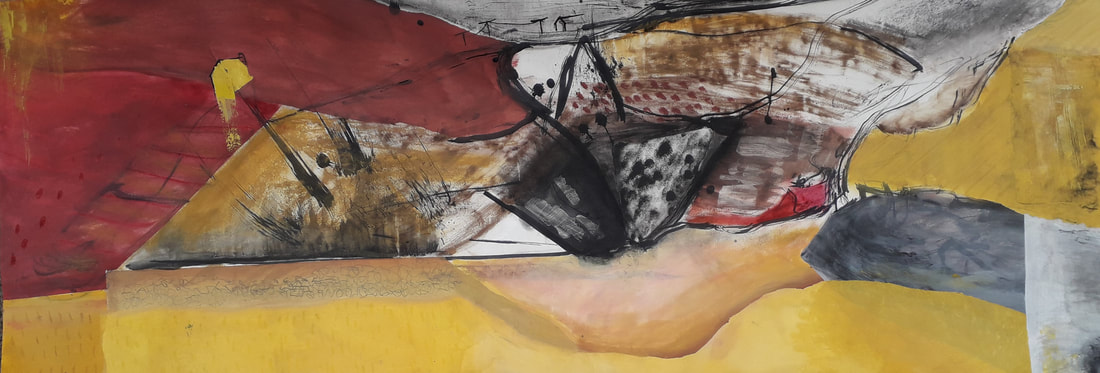 Earth Colours from St Just These mixed media works are rolled-up in my studio. I haven't looked into framing them as I don't have the wall space. I enjoyed making these pieces, two of them were partly-painted on location at Pendeen and in St Just. Although those places are close by, there is a difference in the colour palette. This is due to the mining of the area. I deliberately left some of the Pendeen lighthouse painting white, to bring more focus to other areas of the composition. The benefits of working large are:
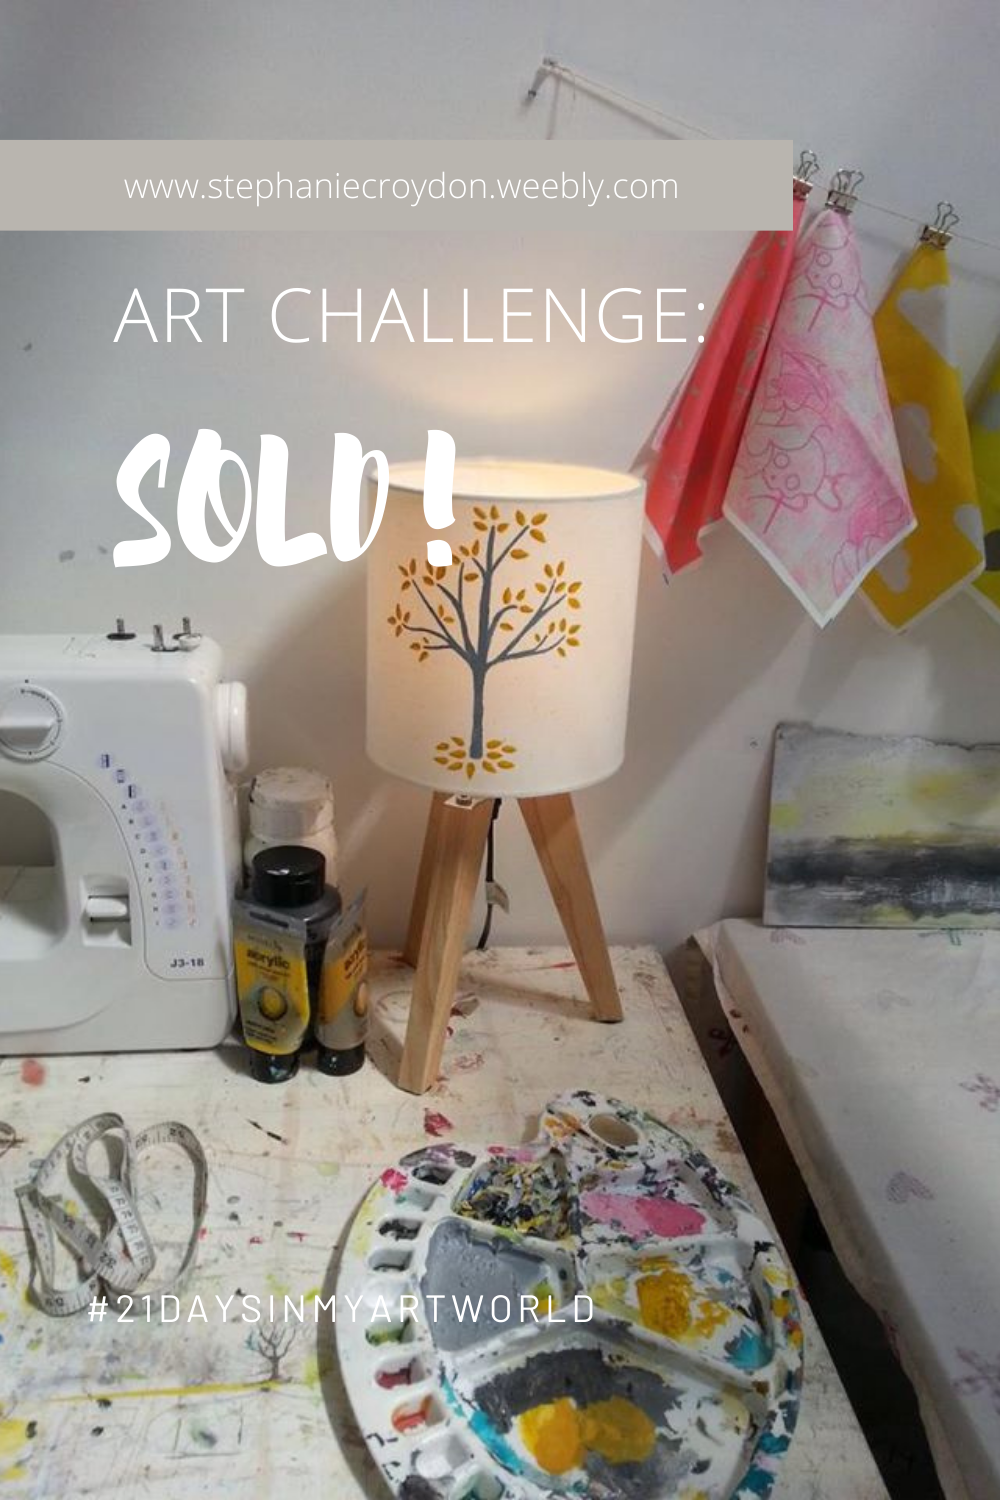 The first pieces of work I sold were small commissions for friends and family just before I went to college. However, it wasn't until after graduating that I waited to sell from my studio.
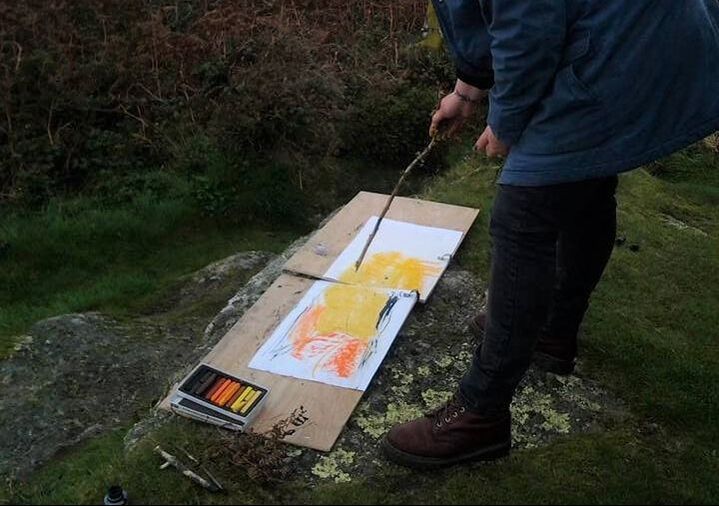
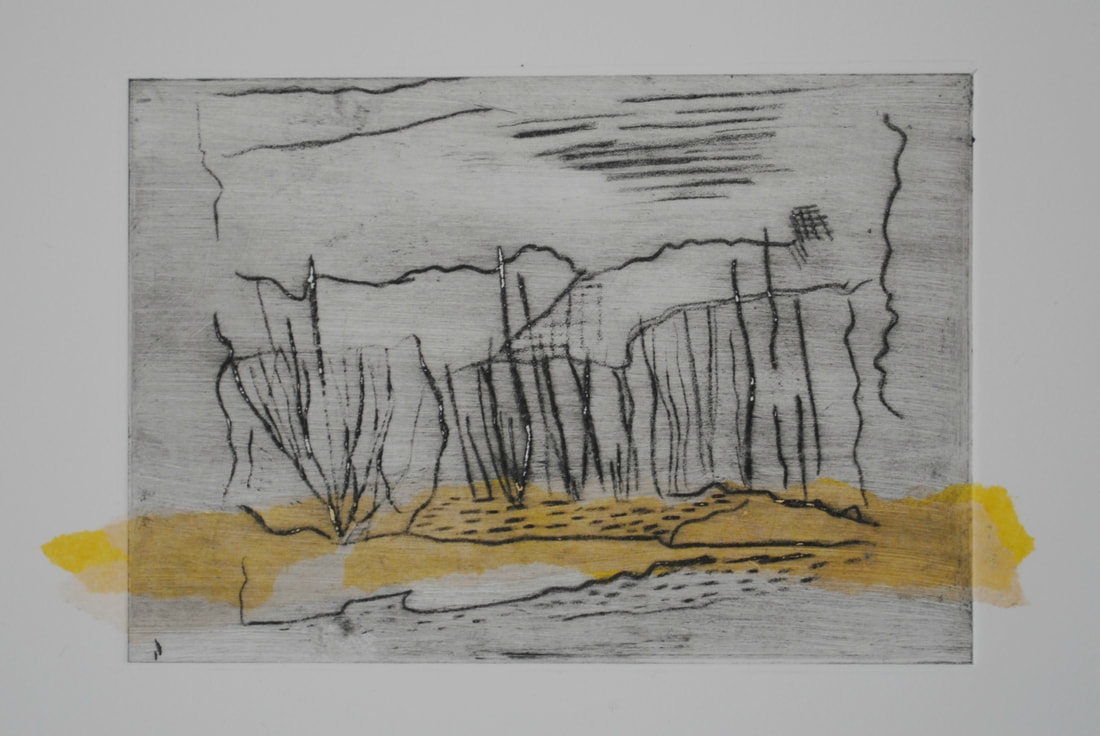
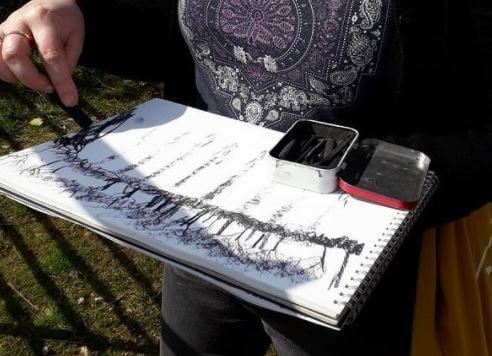
Open Studios in Cornwall is a twice-yearly event; a week in spring/summer and a weekend around Christmas. It's a brilliant way to discover new art, meet the creators and see where they work. The test was whether I would have buyers who were not friends and family. I set up an Etsy shop for artwork, a Spoonflower shop for my fabric and wallpaper designs and participated in Open studios where I had everything on display and it worked! I have also sold from galleries, private sales and art shops. Artists often go through stages of not knowing whether the process is right, working alone for long hours or when to stop and put down the tools. Feedback from my customers and photos of my work in situ is a reminder that it was worth sticking with it. I haven't sold on Etsy for a long time and I often debate whether to reopen my shop or upgrade and use my website. However, my Spoonflower shop is still open and hopefully, I can take part in more shows soon. Here is some feedback I have received: Arrived today, wonderful! I'm really happy with your work..so creative! Absolutely gorgeous - the photos show true colours, lovely detail, very pleased with my purchases. Beautiful piece of detailed, affordable art. Shipped on time and well packaged ...they had to be mine!! it's even more lovely in real life I couldn't stop thinking about it, I had to come back for it 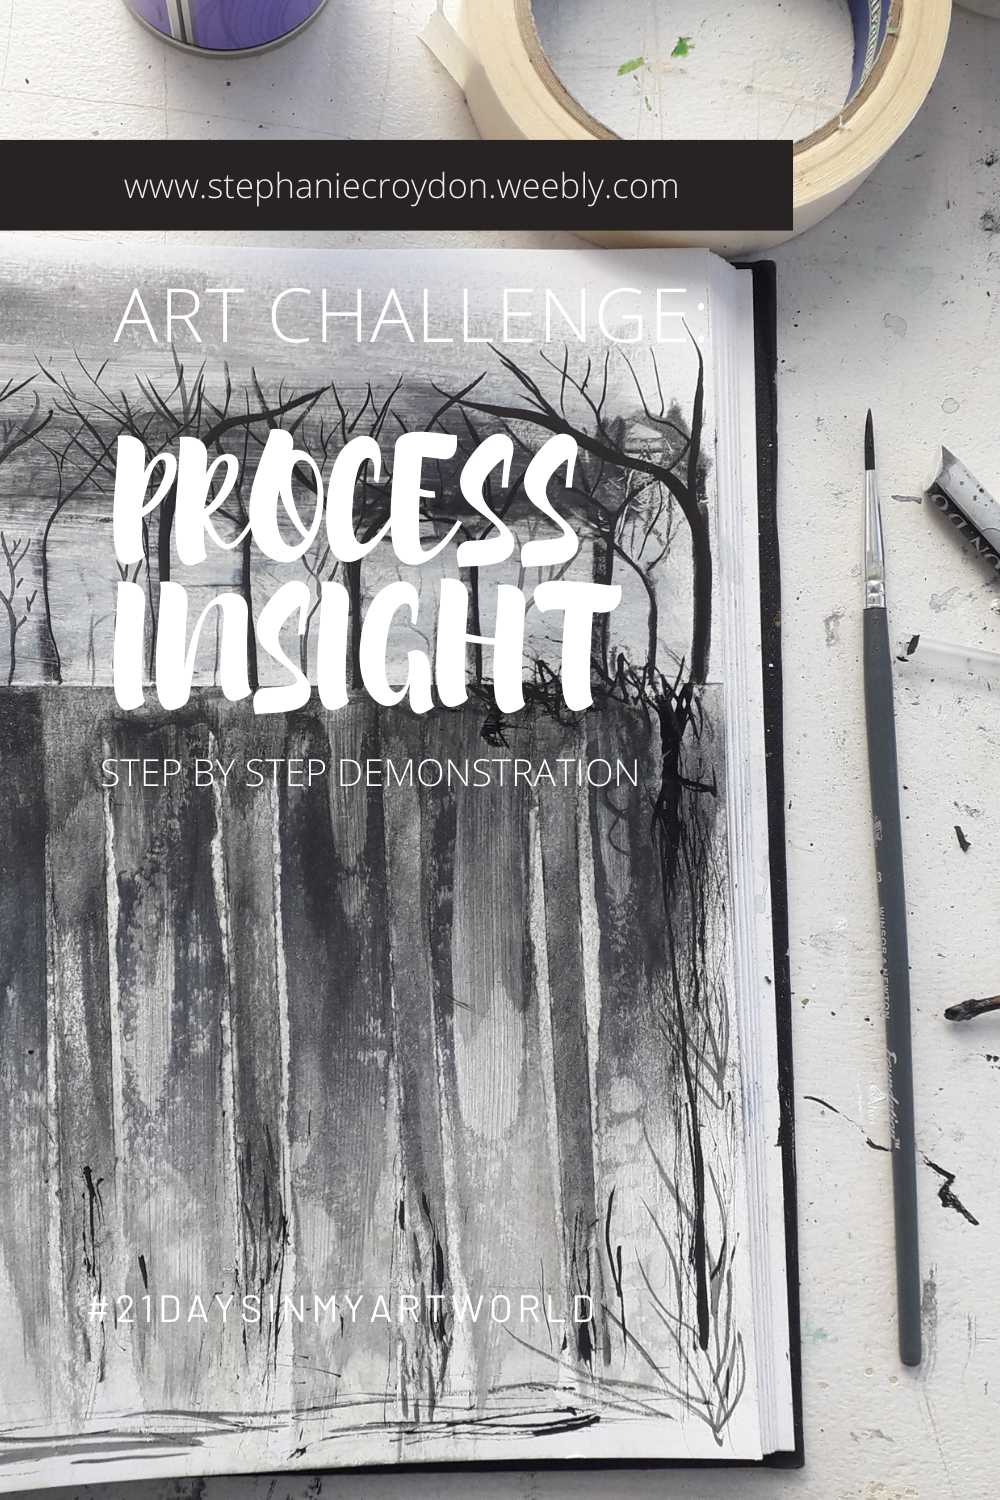 For this prompt; Process Insight, I have decided to show a step by step demonstration from my sketchbook. I took some materials out with me into a field nearby, I made some quick sketches and worked from them in my studio. I used charcoal in my initial drawings, for the final sketch I used chalk, charcoal, paint and ink. 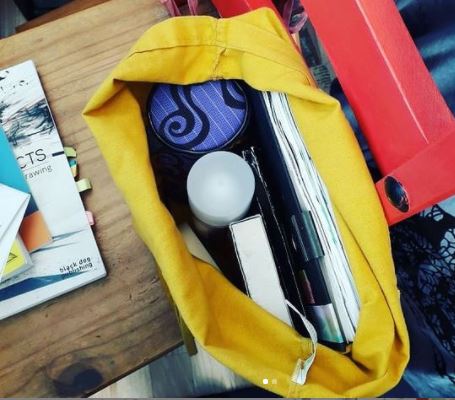 Packed art supplies I decided to sketch some trees at the top of a field. The field sloped upward. The field was framed by trees and hedges, apart from where I stood. I got down the basic composition, I didnt need every detail.
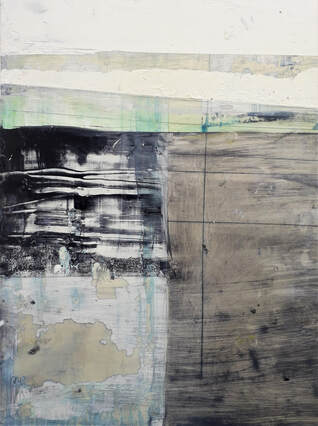
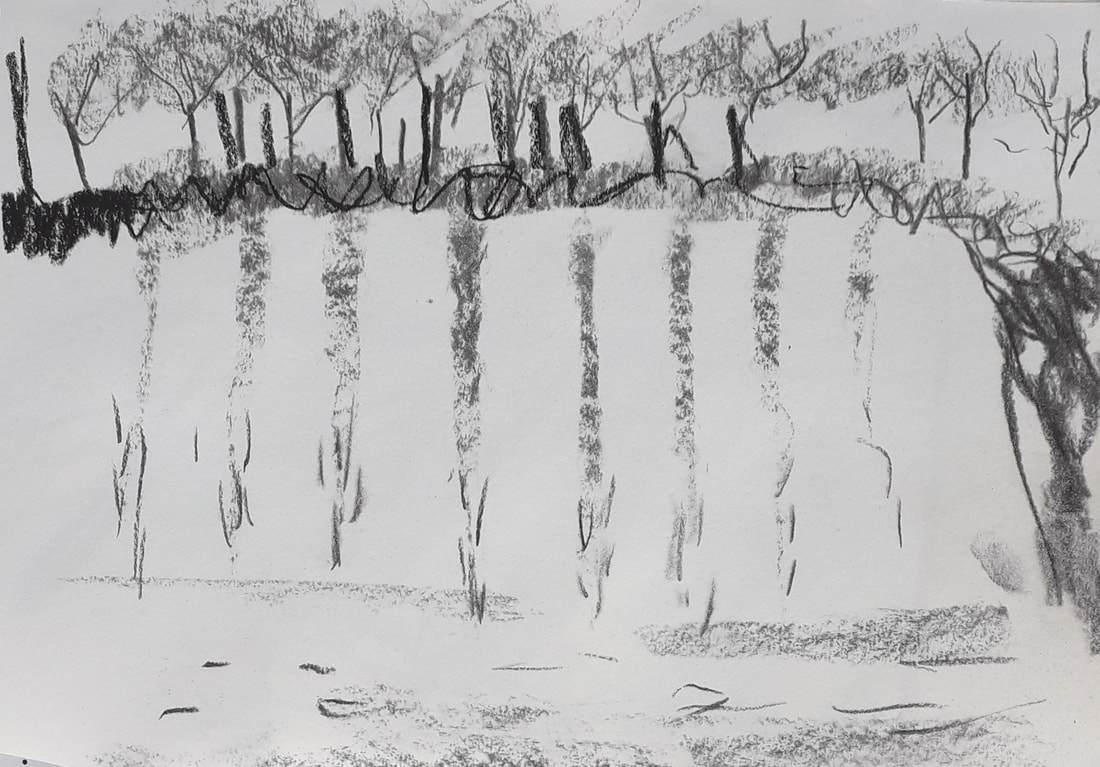
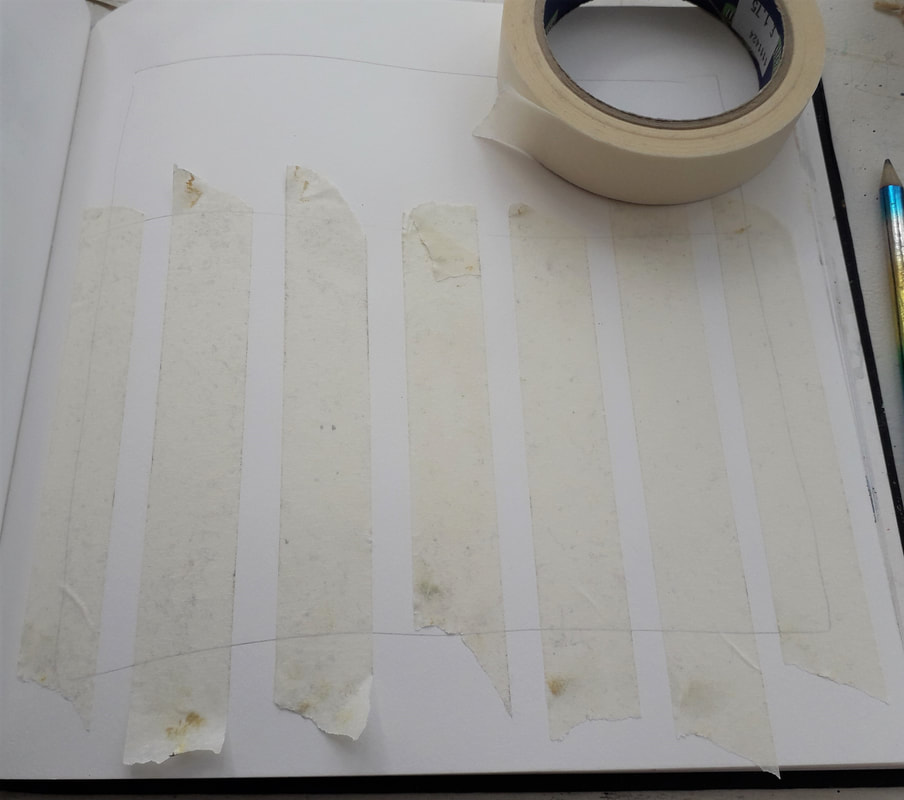
Back in the studio I chose to work in my hardback sketchbook which had thicker paper; ideal for mixed media work. This is a Seawhite sketchbook which are really good value and have a lot of pages, they are available in different sizes. I had initially packed this sketchbook but it was too heavy. 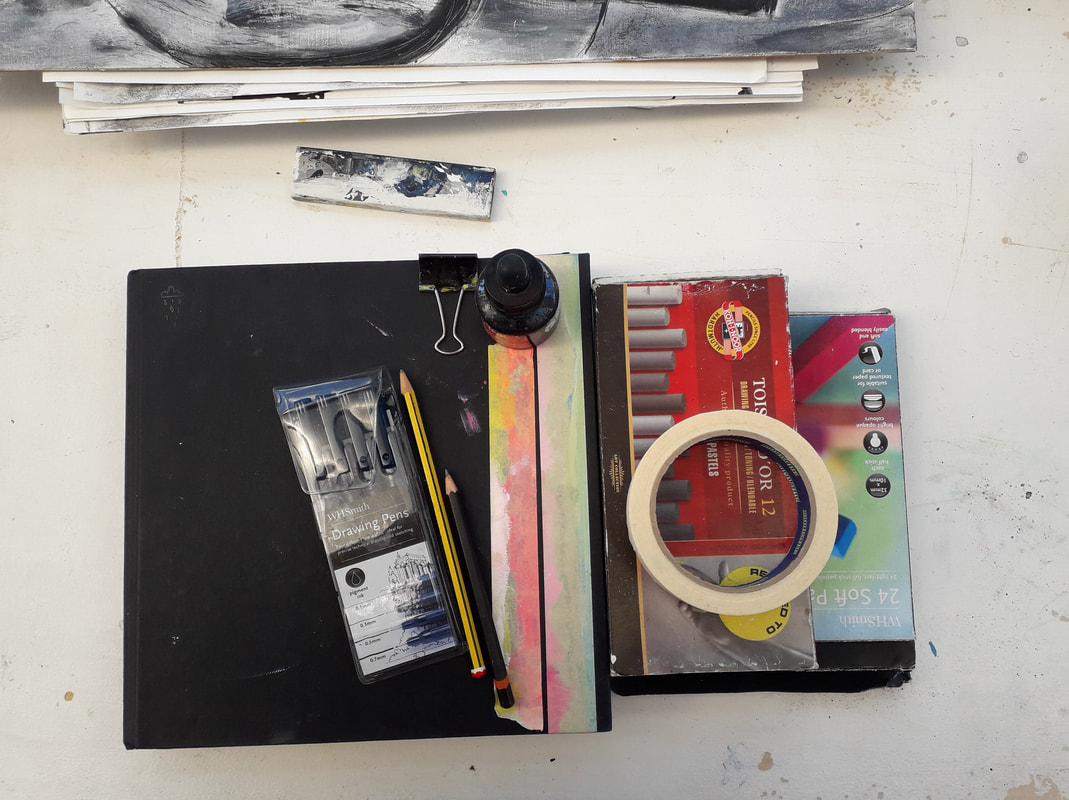 To start with I drew out a pencil border and applied masking tape strips for the ploughed field. I then roughly went over these with charcoal. At this point I was putting down the first layers which didnt need to be neat as they would be worked over again.
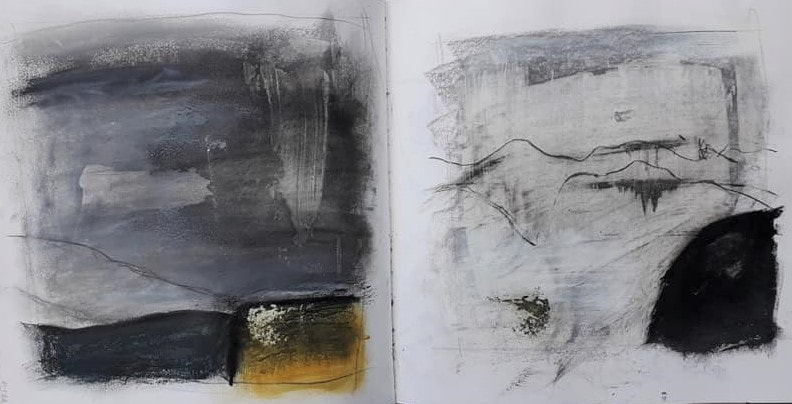
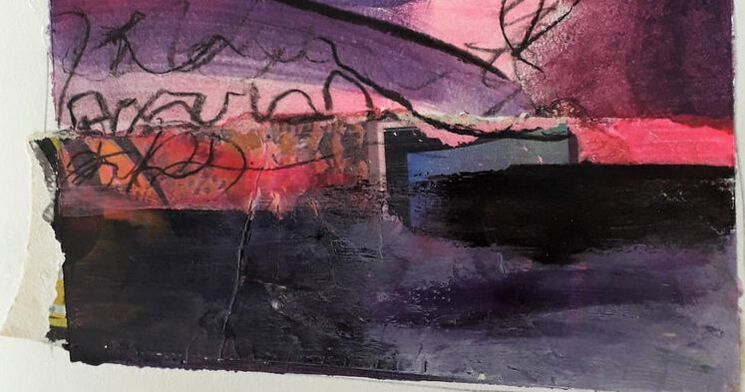
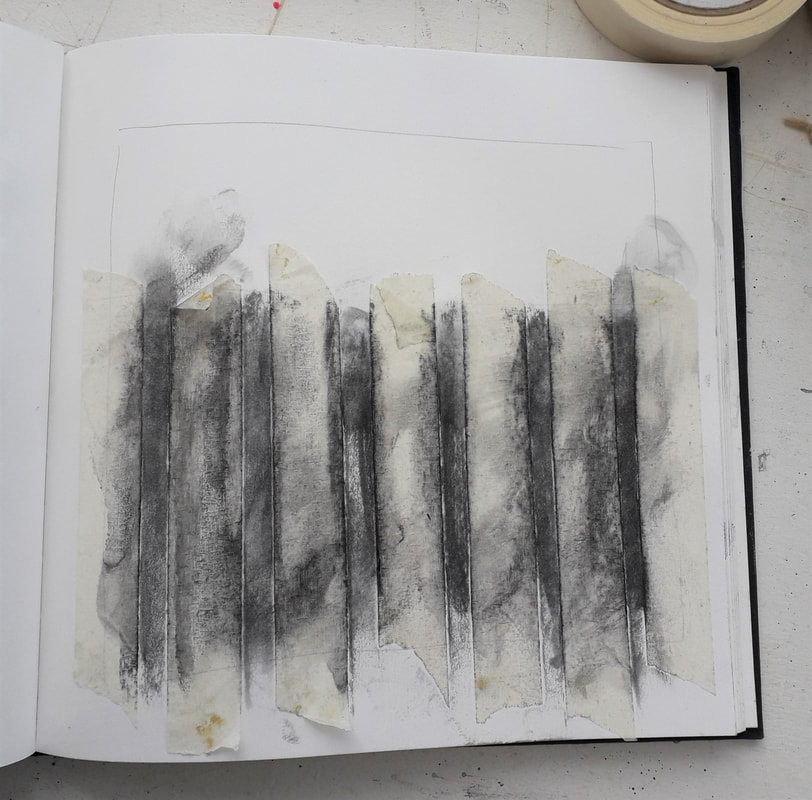
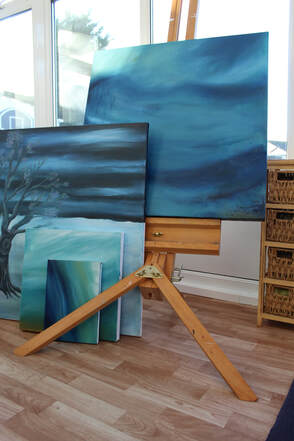
I removed the tape and fixed the charcoal with spray, it didnt matter that some of the charcoal had got under the tape. Once dry, I covered the black stripes with more masking tape to scrape a layer of white paint over the surface. I left some of the paper untouched and when dry went over with charcoal again making this the third applied layer. I built up the layers with compressed charcoal, this goes on much darker, then I used an old teatowel to reveal some of the layers underneath. The white paint acts as a resist. 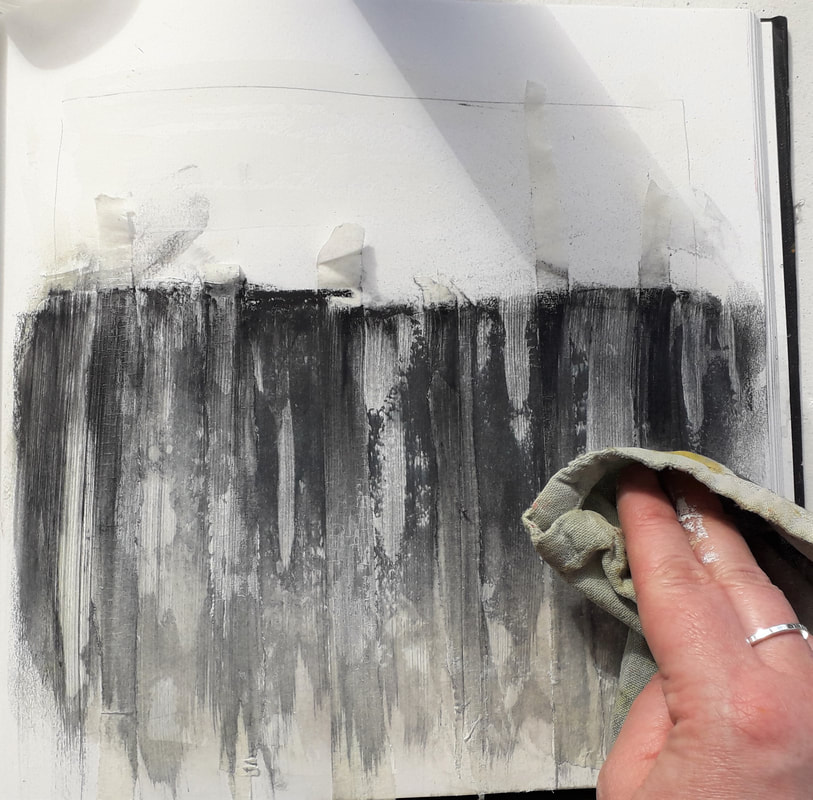 I decided to have a defining edge to the top of my field. This was to break up the composition, a sharp edge amongst the chaos. I added more tape and blended more charcoal. The next step was to put tape on again to seperate the 'field' from the 'sky'. Then I applied more chalk and pastel without loosing the crisp line. So far I had only used scrapers, a teatowel and my hands to build the layers. The next step was to loosly add detail to the edges with charcoal and ink and start adding in the trees. The ink was applied using natural found materials on my walk to the field, I wanted a scratchy finish rather than perfect lines. However, when it came to the tree detail ( second image) this wasnt working right. I was able to wipe away the detail I had added in for the tree tops as it was ink and charcoal. I wasnt too precious about this, afterall this was only my sketchbook. I liked the marks left behind and I decided to leave this in to add some movement. A happy accident. 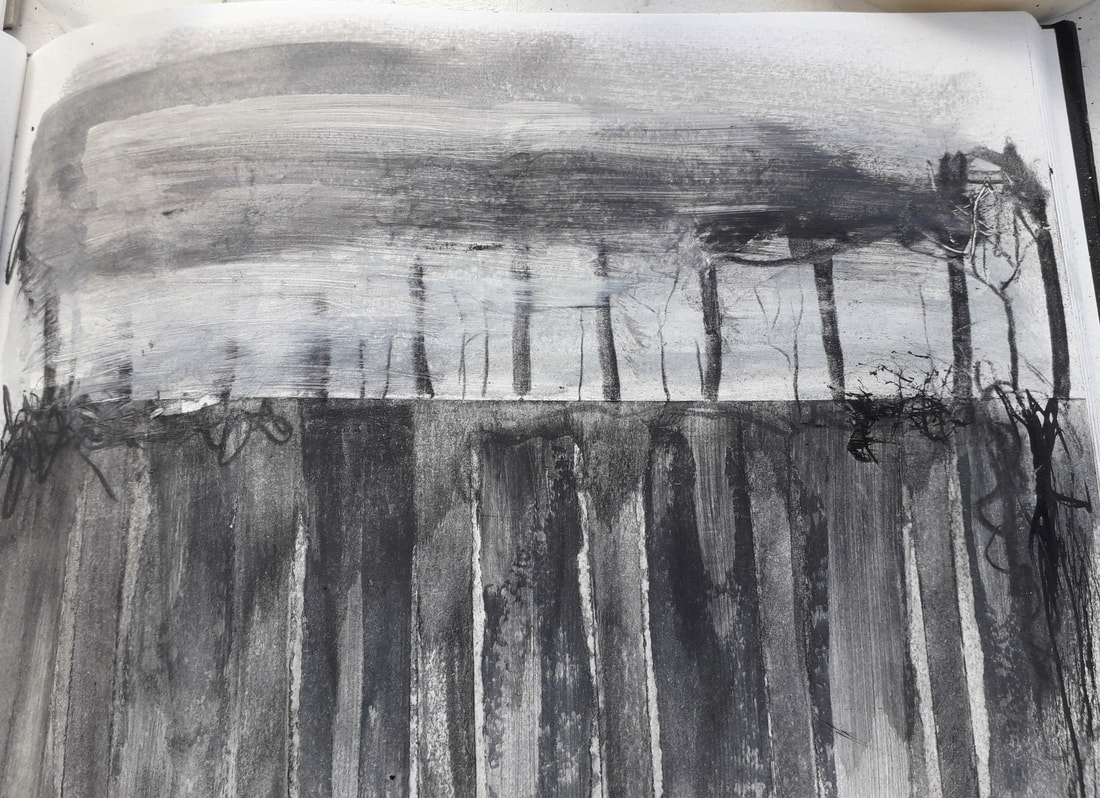 It was only at this point I reached for a fine brush to create the trees. 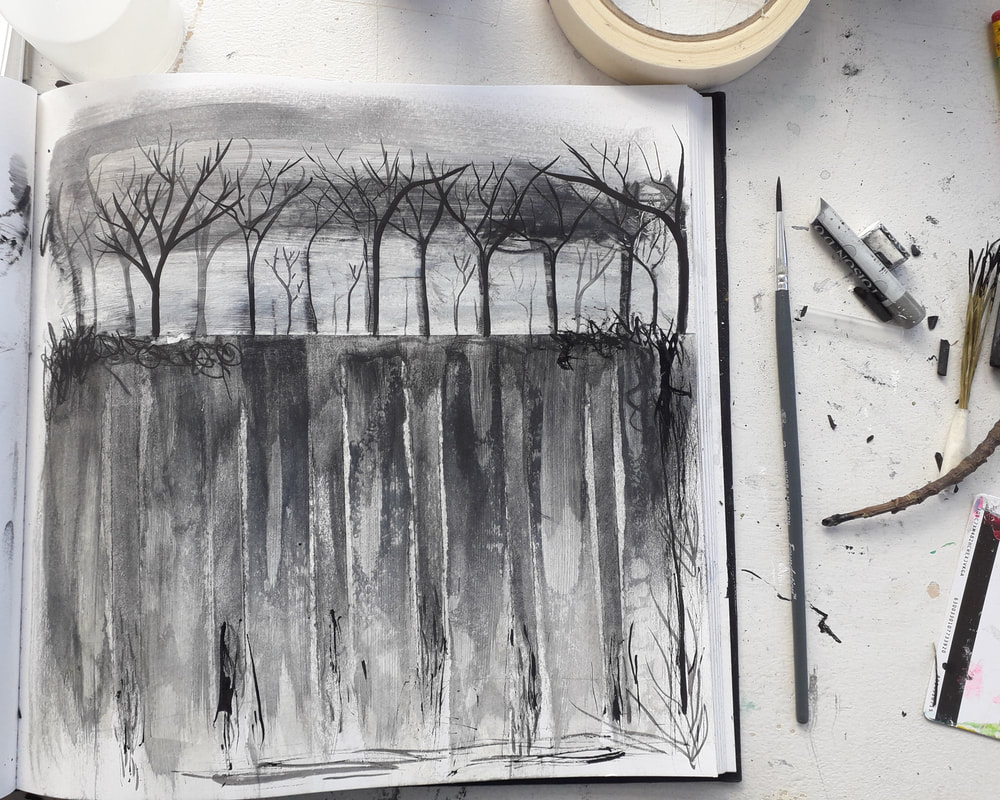 Finished 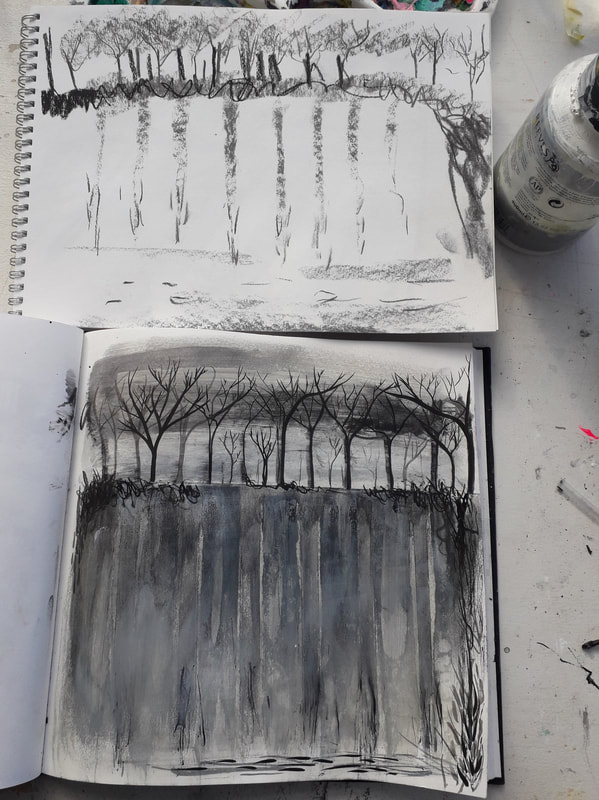 Original sketch with final piece 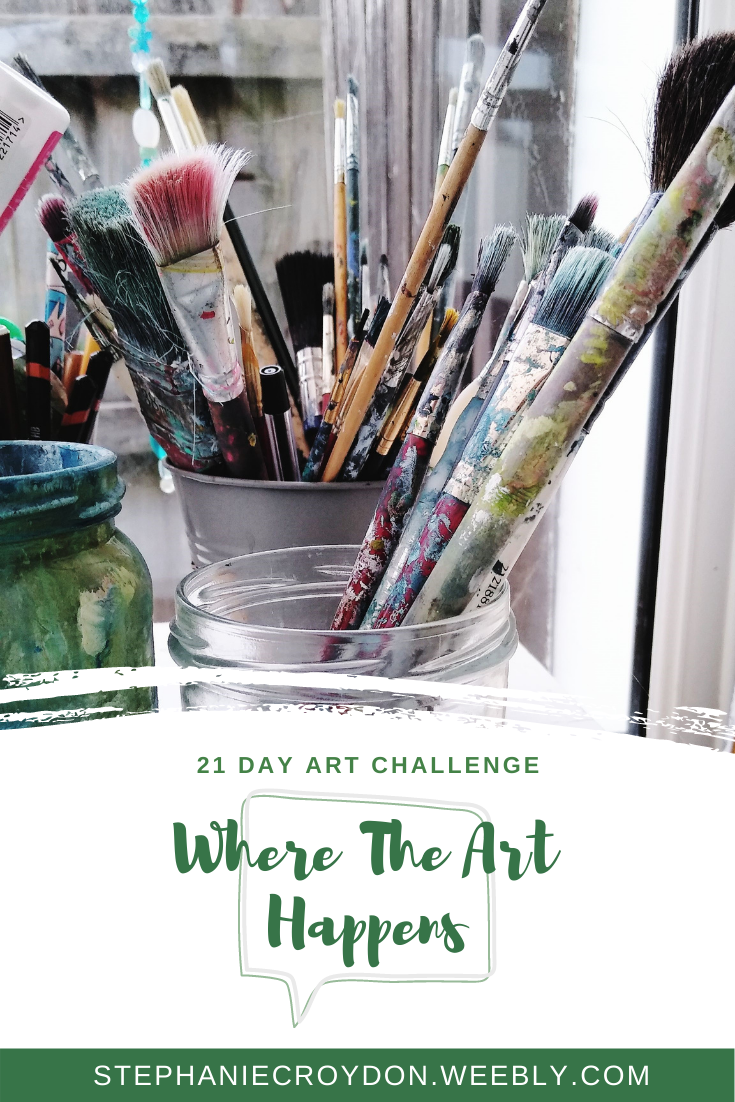 I wasn't sure about writing this post as I have shown my studio space a lot on Instagram already. My studio has changed over time, I have covered this in another post called Create Your Own Studio; How To Work With A Small Space & Budget. Head over to the post already written to see some work in situ and my old Krowji studio space. Here are some photographs I took last week after a good tidy up (it gets quite damp in here)  Motivation has to be my biggest creative challenge at the moment and many things contributing to it.
I haven’t been creating as much as I usually would; this is reflected in my Instagram feed. I’m one of those people who always say 'if I had time I would do XYZ…' and now I’m on furlough I do have the time. However, whilst writing I am also helping with an English assignment on the side, later on, it will be a different subject or multiple subjects as I have two children at home with me. My studio is less than inviting at the moment, previously I have mentioned leaking and the cold. I can wrap up in many layers but I can’t stay out there for long. I wouldn’t recommend a conservatory for a studio; it's hot or cold and plays havoc with my materials. I don’t have space in the house to move everything to a new area. Anxiety is one big cloud hanging over me at the minute too. Some days I’m happy to get in the studio and put on a podcast or some music to pass the time, the reality is that it’s hard to do that. Sometimes I think the anxiety is becoming borderline depression, on those days I tend to try and watch something on Netflix or read a book to distract myself. I used to run and do yoga which changed my mind-set; aiming to do that again is a positive step. I have many creative plans I really would like to make a dent in this year. Id be interested to hear what your creative challenges are. 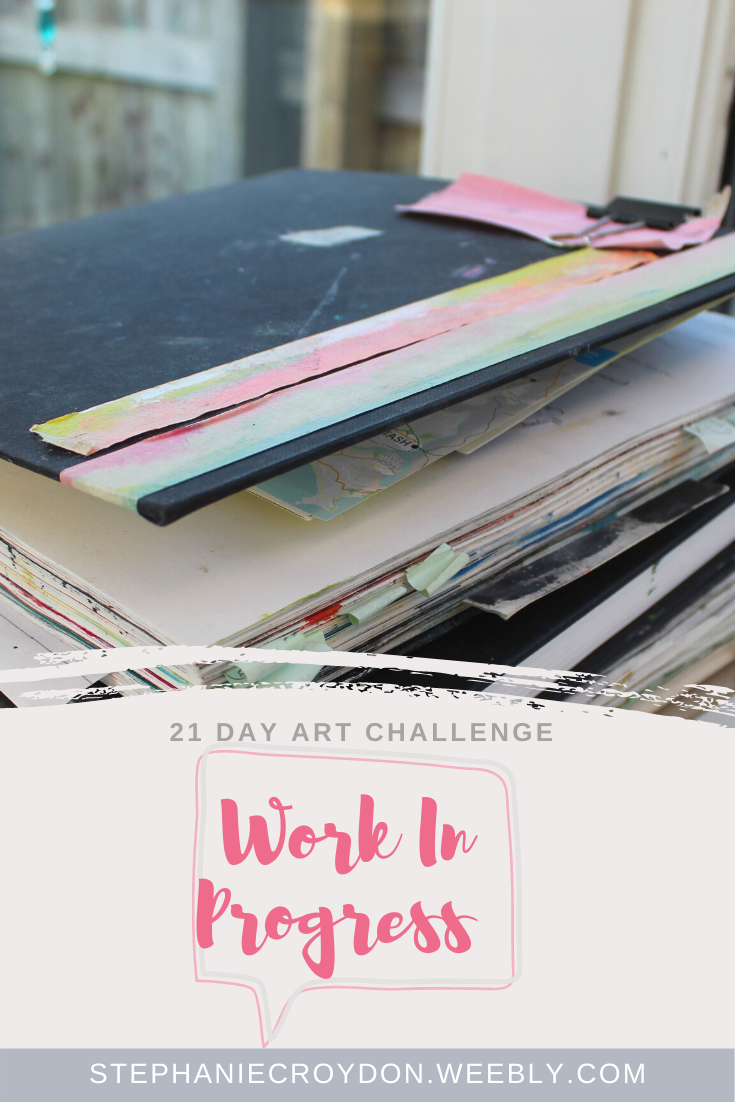 I have to say that most of the work in my studio is a work in progress; I’m terrible for not finishing work and starting something new. I also have many notebooks and sketchbooks of ideas stretching back several years with pages dotted with mini post-it-notes here and there to say this would make a good blog post or piece of work. Occasionally I go through them, knowing I thought something was a great idea however, a lot of the time I don’t remember what inspired me; I have a terrible memory. I have a couple of large canvases I started at my Krowji studio that I will probably paint over. This particular painting of a blossom tree I shared on Instagram stories with a poll; should keep it or not? Most people said yes. I could fill out the tree blossom but I decided I don't want to keep it. It’s a big piece that I can no longer store. If I’m not feeling the love, then it’s time to move on.
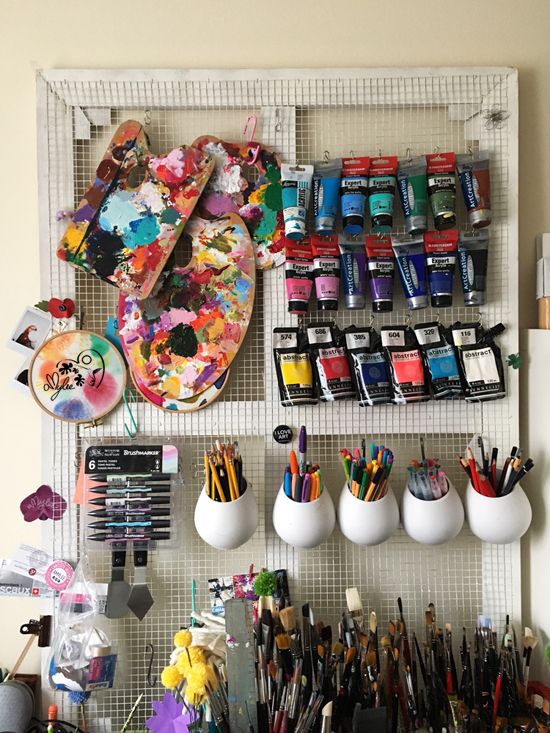
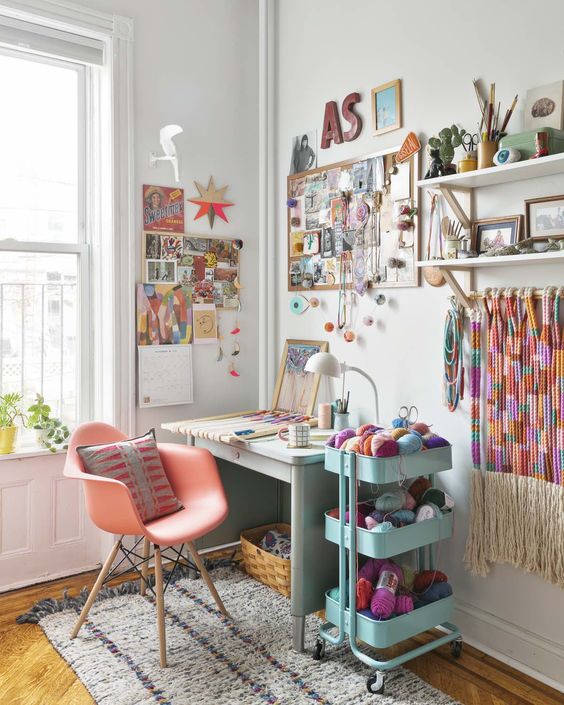
 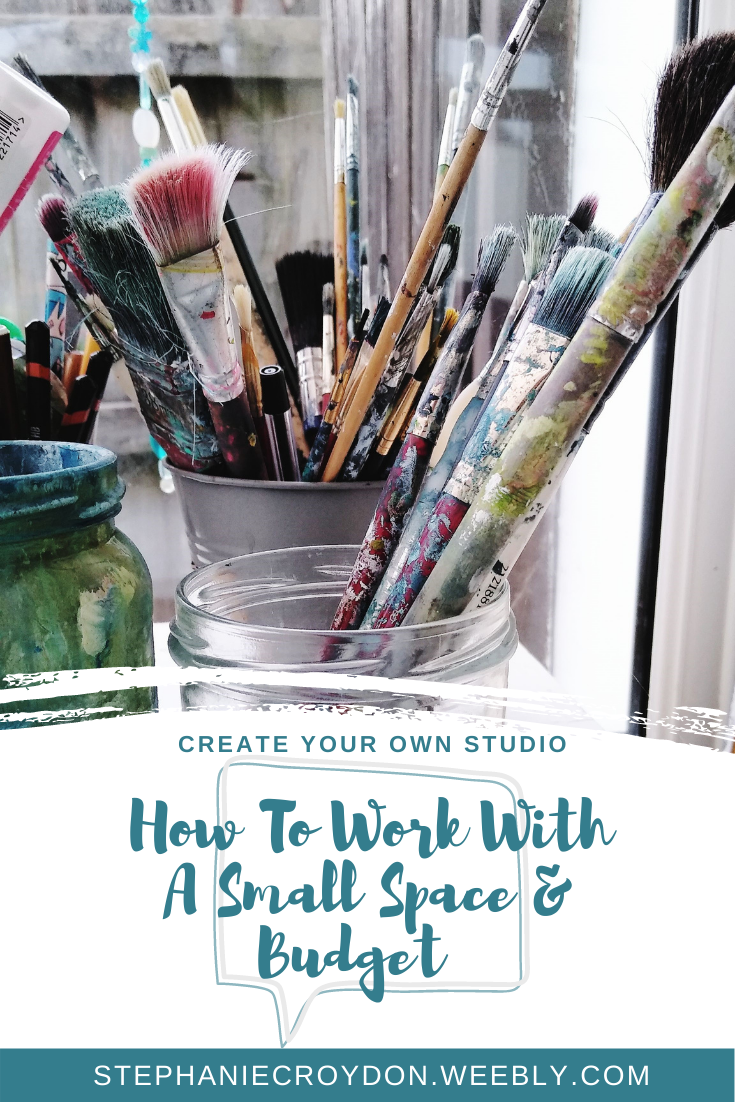 During lockdown, I saw many people turn to creativity to help pass the time using art as therapy at a time of great anxiety and a rise in people generating income through the artists' pledge whereby artists would sell work and use some of their income to purchase work from another artist. Now that the majority of us have returned to work that creative time may have been put on the back burner as we juggle our work commutes, school runs and other commitments. However, if you have decided to commit to a creative hobby or start up a creative business I can show you how it can be done with a small space and a small budget. A studio space doesn’t have to be a large space or a rented space in an artist hub, a small space at home such as a small nook, spare bedroom, corner of the lounge with a caddy for supplies can be just as great to get creative in, the option to move to something bigger will always be there if you need the space to grow. 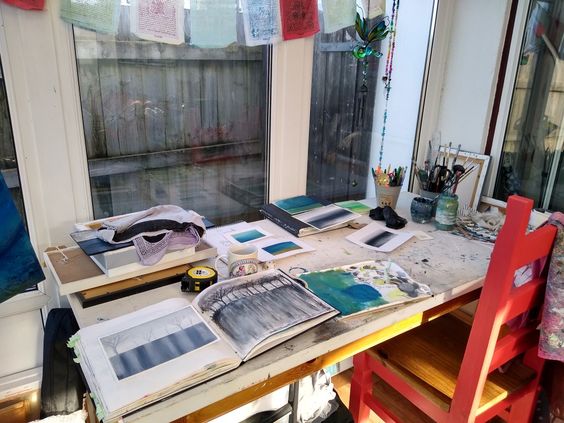 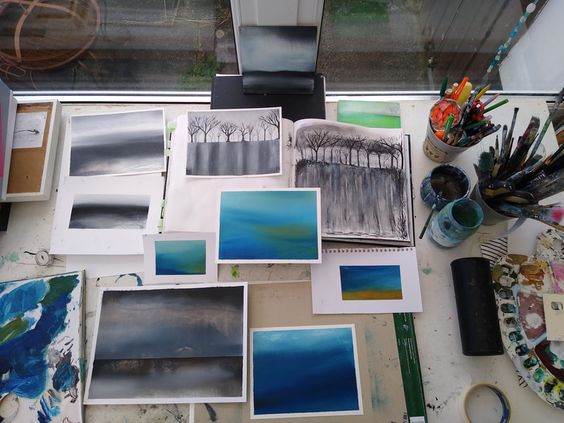 Current working space My own creative spaces have changed a lot over the years working from a spare bedroom in rented accommodation, on the kitchen table then moving to a tiny computer desk in the bedroom although I remember yearning for more space as my work started to grow. I won a residency in a studio for a year and then moved my materials back home to a larger table in the bedroom. I moved house 3 years ago where I now have my studio space in a conservatory. Working from home is much better for me right now than commuting to a studio around work and the school run.  Some images of my studio's on Pinterest What about setting up the studio space though? I recently made a short video tour which I uploaded to my IGTV on Instagram of my current space; I say current as it’s always changing and I have been looking at moving house again and having a (well insulated) summerhouse as a studio…or small shed. As we head towards winter and it’s too cold to head into the studio I will often work at my coffee table which doubles as a storage chest which is an option if space is tight. Pinterest is my favourite site for finding inspiration when it comes to creativity and I have created 2 studio spaces boards if you need some help. One is called Small studio spaces which you can find HERE and Studio spaces inspiration which has some images of bigger spaces indoors and outdoors including those of textile workers and illustrators which you can find HERE Furniture Second-hand furniture is ideal for studios especially if you are working with messy materials. I bought a large Ikea trestle table from a friend which replaced the cheap computer table, it was great for a while but I sold it before moving house assuming I wouldn’t have space for it. I bought a sturdy easel to save on space and I was then given a table for free. I’ve had a couple of free chairs for the studio too, always a favourite for the cat. Have a look on websites and charity shops for suitable furniture. 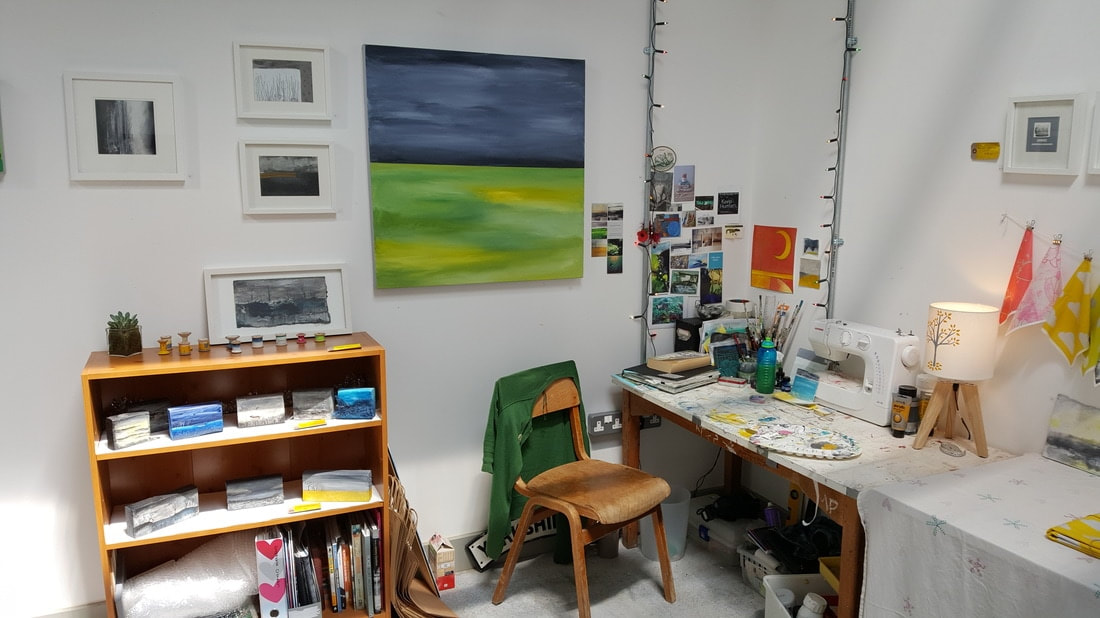 My Studio at Krowji, Redruth Storage Materials and work will eventually start to build up as you continue your practice so storage is important wherever you set up but it has to work for your space. I started off keeping my paints in my old baby box that I used for bath time until the top kept breaking so I bought a set of plastic drawers that fit perfectly under my table. I can separate my oils from acrylics and keep drawing materials separate from both and it only cost £12! I store my older work in plastic lidded storage boxes in the wardrobe and canvases and frames to be used are in old toy boxes that my children no longer use. My sketchbooks are kept on a cheap Argos bookshelf but my art books I keep in the lounge where they’re less likely to become sun damaged as my conservatory is a sun trap. Cork memo boards are great for keeping ideas, lists and images of inspiration nearby and they can be painted to match your décor. 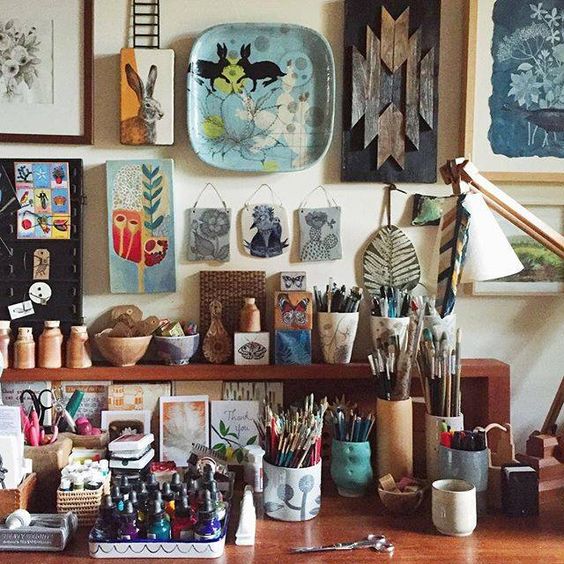 Image found on pinterest Supplies Buying materials can be expensive when you look around some art shops but some high street shops sell materials ideal for beginners or students. Don’t purge on expensive materials before finding out what works for you. DIY store paint tester pots are my favourite for making backgrounds and they’re cheap. If you’re a mixed media artist wallpaper samples are great for adding texture. When I did a lot of textile work at university I used scraps of fabric to test out ideas and some of those test pieces turned out to be my favourite pieces. I used offcuts of old clothes to stitch on and cheap bedsheets for printmaking. I sold all my old broken jewellery and used the money to buy a sewing machine. Jam jars and old mugs are great for studios, ideal for washing brushes in and storing dry brushes and pens and other creative utensils. Shoe boxes are great for collecting ephemera, magazines, collage papers and small paper works. Organising whatever space you have will keep it tidy and find materials easier when inspiration strikes.
 In January this year, I wrote a blog post called ‘2019 roundup and plans for 2020’, however, I didn’t know that all plans would be put on hold or completely changed for a worldwide pandemic. A scary time of being at home worried about our families, friends, and livelihoods.
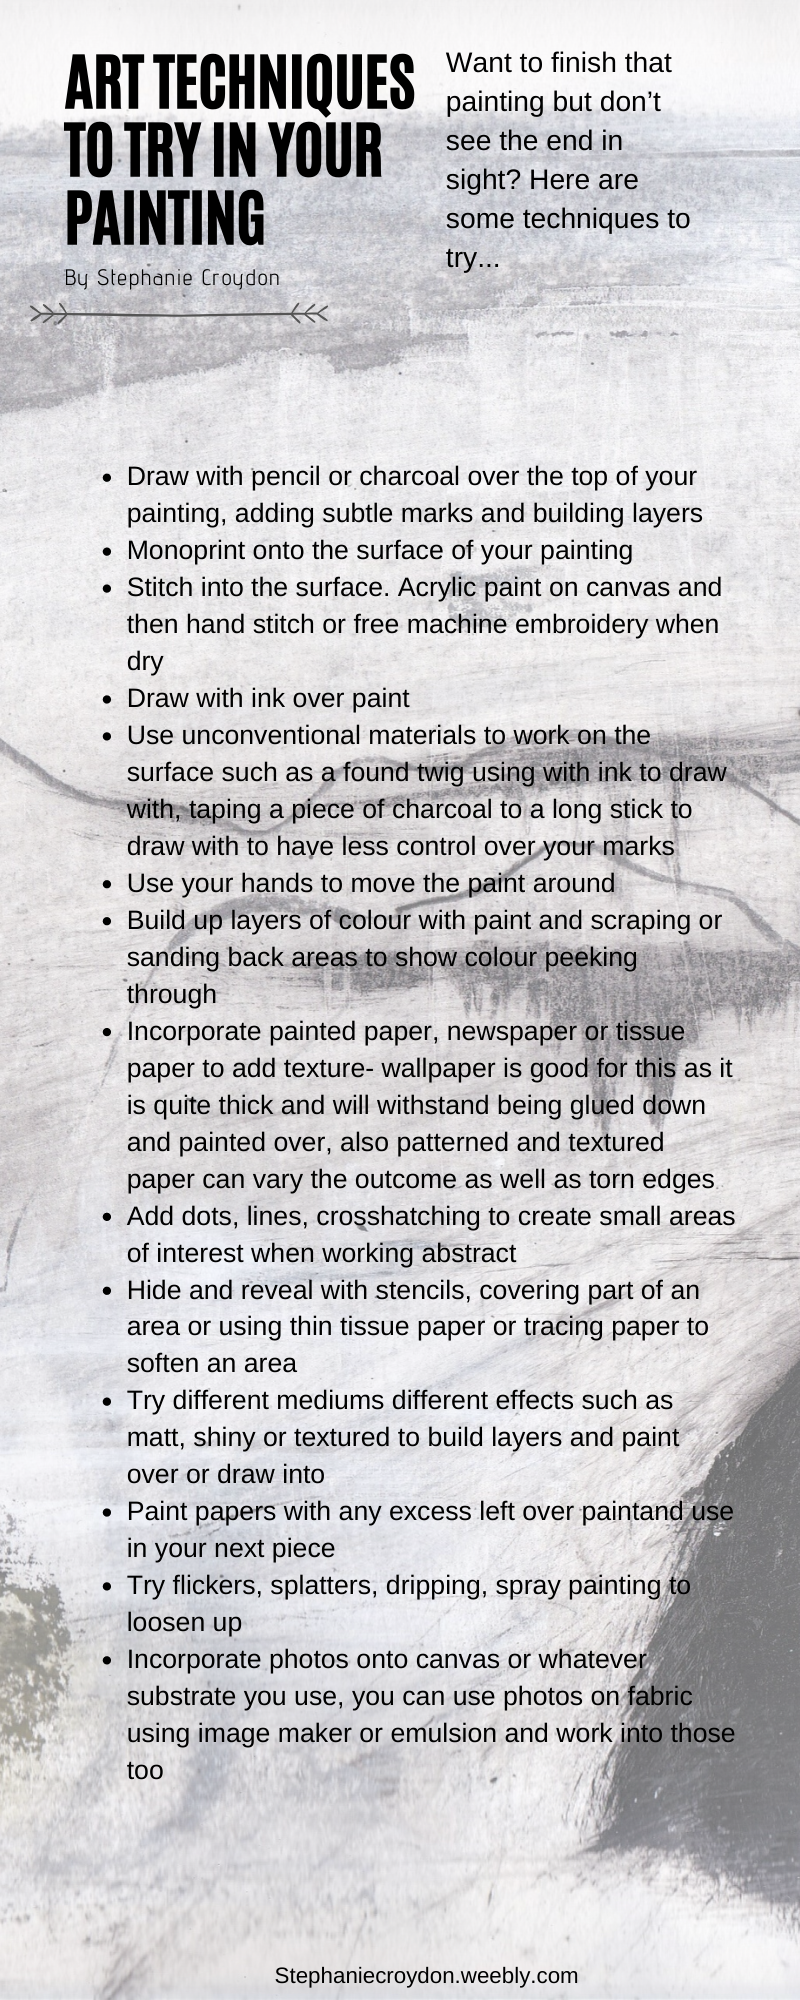
So what were my plans for this year? 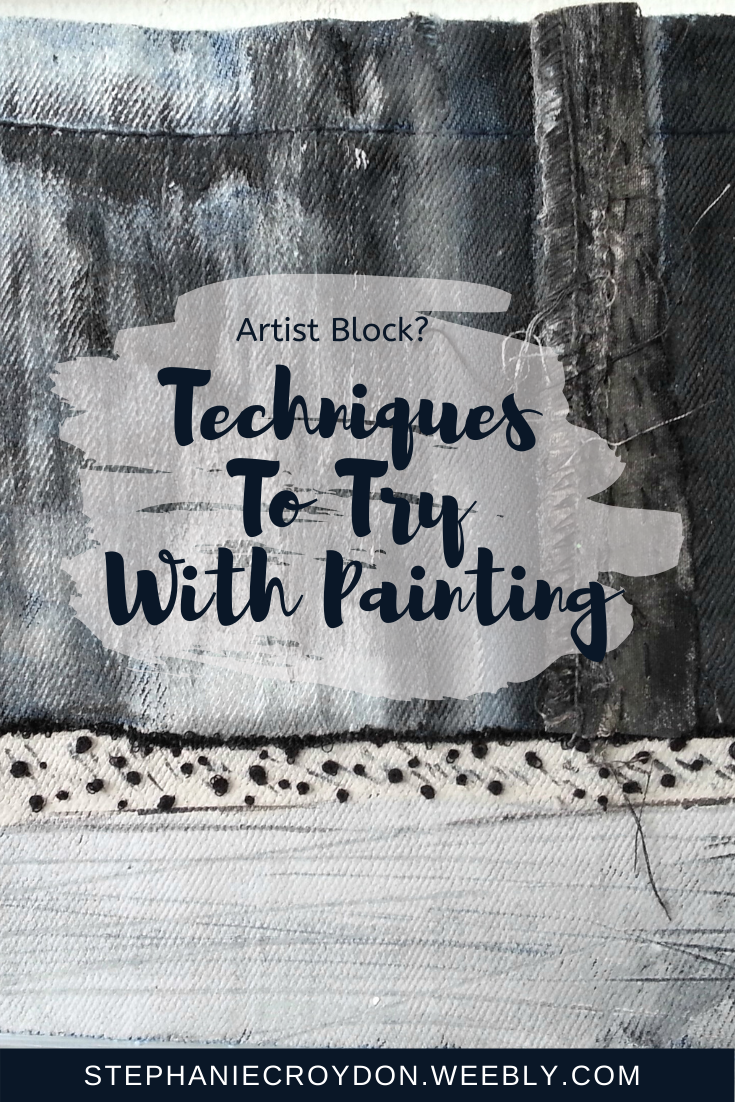 Are you stuck with your creative work? Do you need to finish a piece or tie up loose ends and want to try something new? Try these tips with visual examples. Feel free to print this list and use them as prompts to help, I have also made this information into an infographic at the bottom of the page.

 |
Archives
February 2021
Categories
All
 My Spoonflower Shop
|
 RSS Feed
